Blue skies, green grass, and the sun so bright,
Bird songs all day and cool breezes in the night,
Summer, oh summer
We celebrate, laugh, and cheer
That at last, how wonderful, you are here!
That is to express how excited I am that the summer has officially come back. I don’t countdown to Christmas but I have been looking forward to June the 21st for some time now. And finally, here today comes the first day of summer in the northern hemisphere. Hooray!!
The arrival of the summer (and a bit earlier, the spring) this year feels a bit more exciting to me as it is the first summer (and spring) that I’ve welcomed in my apartment in Europe.
It’s not like I have never seen summer before LOL. In fact, I used to live in Saigon, a city so close to the equator my wardrobe which had nothing but summer clothes stayed relevant all year round. But it’s exactly because it’s always summer there, I never got to see such an impressive change like this to have this almost festive joy of seeing the sun again.
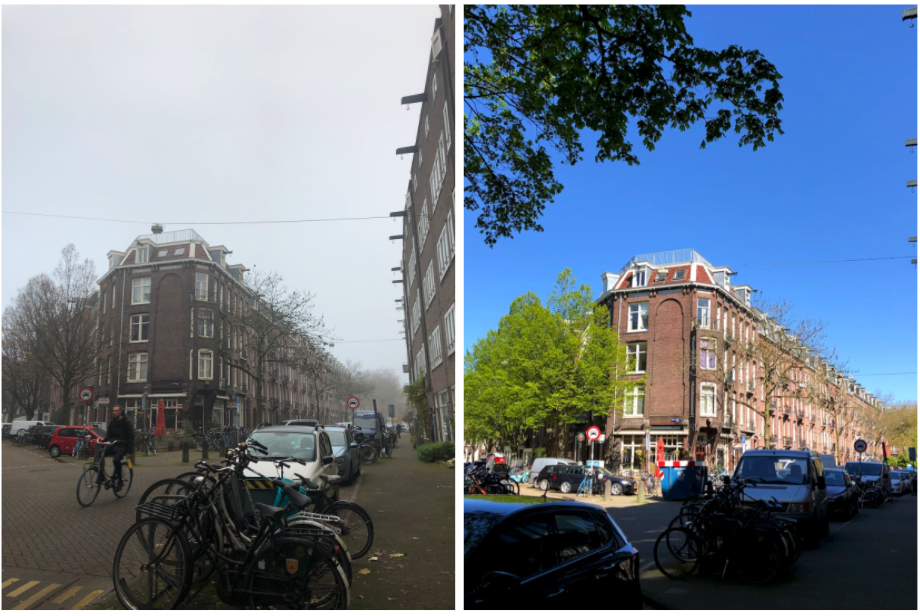
The gentle, caressing, honey-sweet sunlight of the spring not only filled me up with excitement but also inspired my first home improvement project here in Amsterdam, my balcony renovation project. And now to mark the first day of summer, I’m gonna introduce the space in my apartment which I am the proudest of, my balcony. Yay
Inspirations
The moment I decided to make my balcony a nicer place to sit in the sun, my mind started to run wild with ideas. And to fuel it with even more visualization of what a happy ending looks like, I jumped straight to Pinterest. Seeing pins like these, I couldn’t wait to roll up my sleeves, or to be more exact, open websites and order a bunch of things.
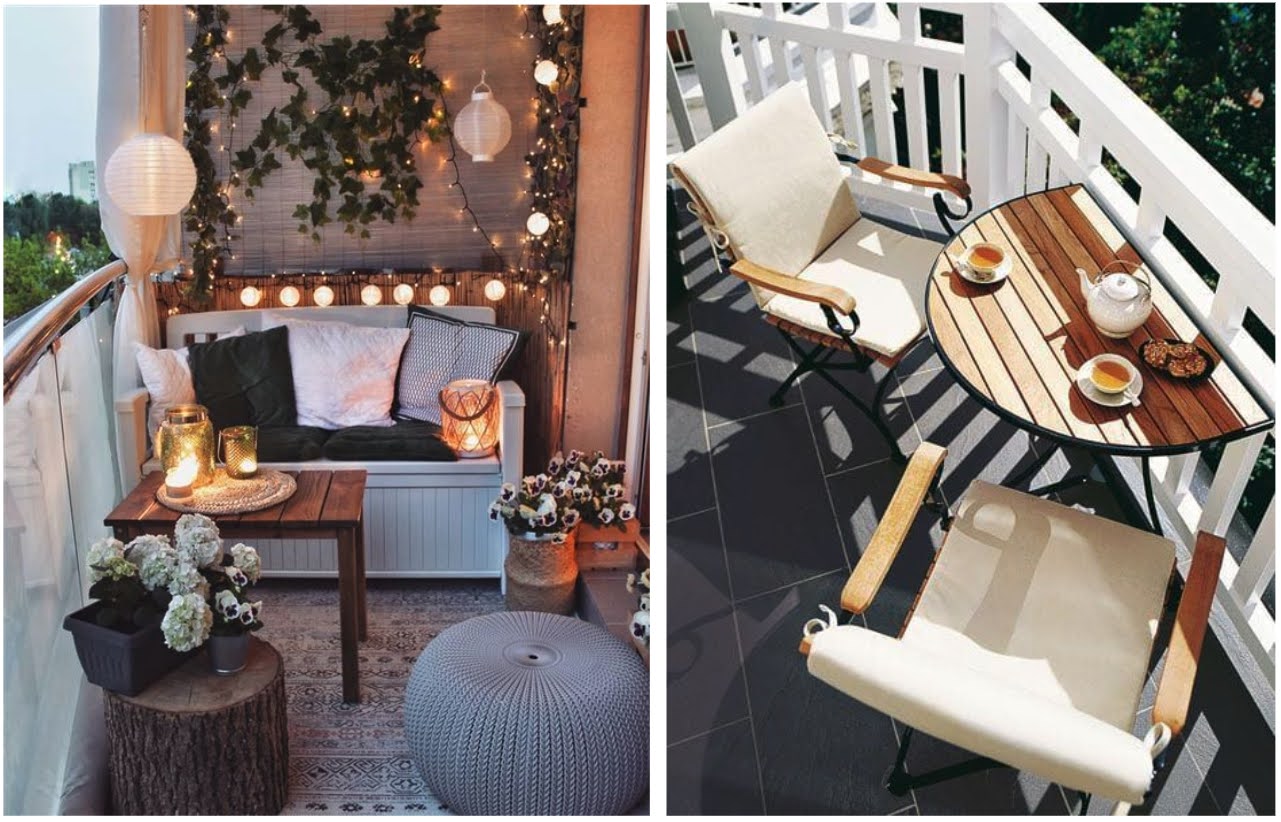
Source: Pinterest – Pin 1 and Pin 2
Ideation
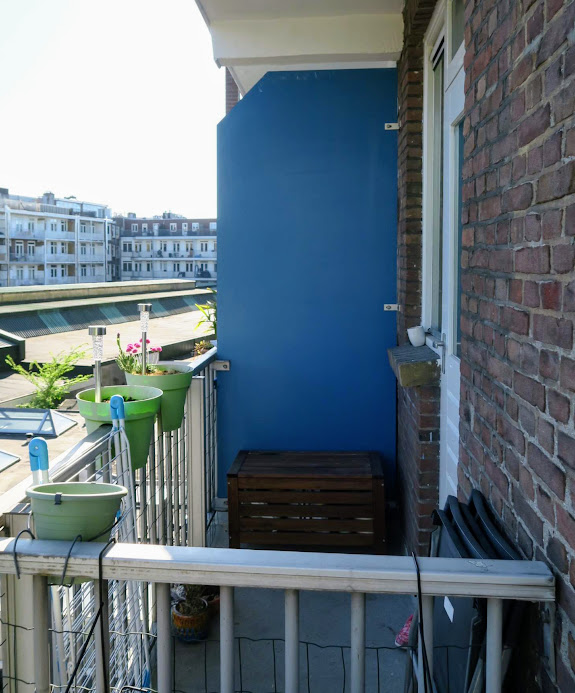
Man, so sure was I that Pin 1 was the design I wanted for my balcony. But it’s time to get real and check whether the ideas I wanted to borrow from Pinterest would sensibly apply to my case. I ran back to my balcony, took this photo, and concluded, “Oh great, looks like I’d better throw away the mental image of my future balcony and start over again,” after realizing the following 2 important facts: (1) My balcony is a LOT narrower than my visual memory of it, and (2) the gardening toolbox took way more space than I thought.
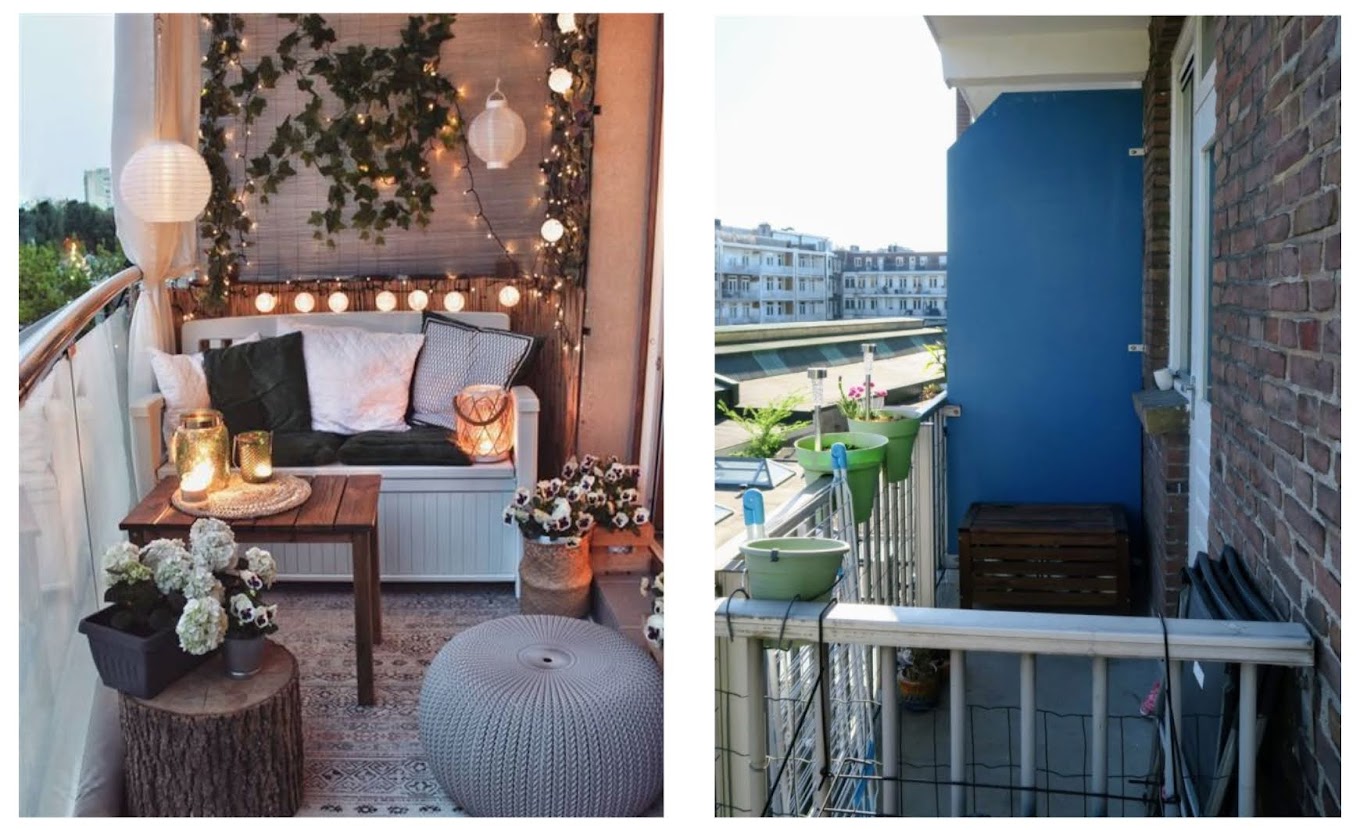
Combined together, they meant that I could not just buy things and hope that they would fit. And therefore, I measured everything up, according to John’s very wise suggestion (which I was too stubborn to follow immediately at the beginning LOL).
My home improvement 101 first lesson: Can’t trust visual memories. Better start by measuring everything up.
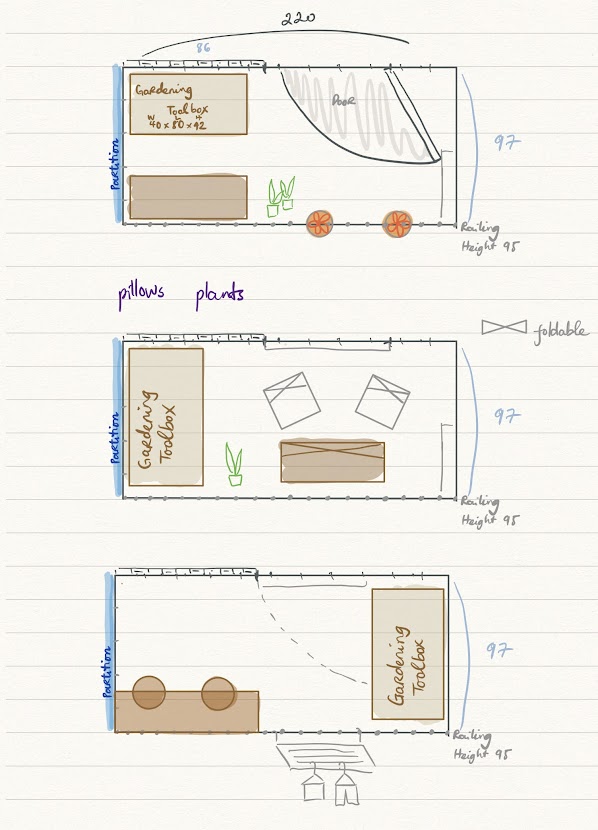
Writing down LxWxH was rather boring and did not show the full picture. As visual as I can be, I put together the simplest representation of my balcony as below. Now I could see even more clearly how much space the toolbox took, to the point that where to place it would pretty much determine what could be done with the rest of the balcony.
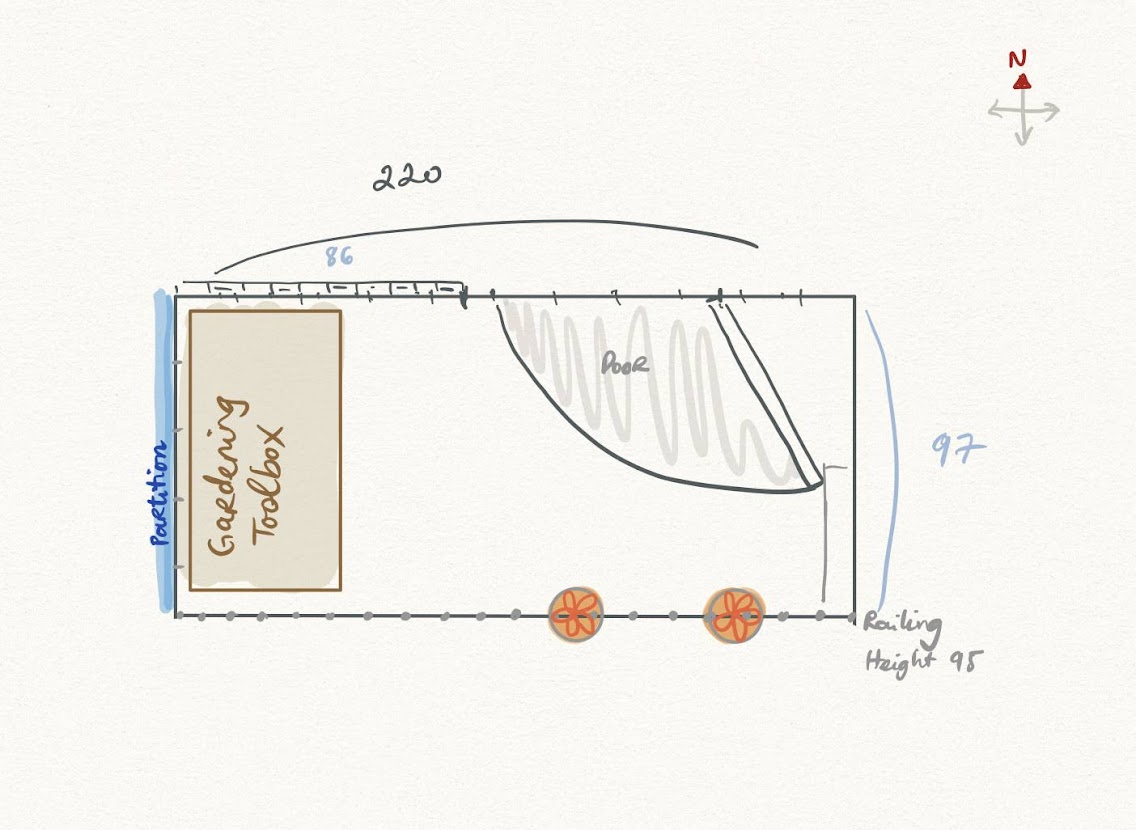
And then, I realized that the little sketch here offered me a great way to experiment with different layouts. I could quickly see what would actually work among my various ideas without having to physically move my gardening tool from one position to another.
I was amazed to see, despite how simple my sketches were, they allowed me to rule out many seemingly-good-but-actually-bad ideas very quickly (and how most of my initial ideas fell in this bucket LOL.)
And here I go, Hai’s home improvement 101 lesson number 2: Experiment on paper first to quickly develop and assess ideas.
At the end of the evening, I came up with the rudimentary floor plans of my 3 most feasible and promising ideas.
Idea selection
At this point, I felt so much closer to the actualization of my balcony dream. I just had to pick one design and go with it. There were, of course, pros and cons of each option, which made it not easy to decide. I was then most inclined to option 3 but had one main concern left which was that I would waste a lot of precious space in the back of the stools as whatever I want to place there would be out of sight and not contribute to the total experience.
I walked to my balcony again to “fact check” this. And it did not really seem like I would lose as much space as my floor plan indicated. That’s because I did not really sketch everything to scale (just sort of). After being sketched again, this time to scale, what I thought the floor plan would be like (the top one below) turned out to be more like the one in the bottom. Yes, the gardening toolbox is big but not that enormous. And no, the stools are small, but apparently, no one could sit on stools THAT small.

the other to scale (bottom)
My big revelation: sketching things to scale matters! How smart, Hai. Congratulations on rediscovering the basics of creating floor plans LOL.
Now that I could see that, actually, there would be any space left behind the back of the stools, I had no more reservation about this floor plan and finally found the winner in my own balcony idea contest.
Implementation
Finally, the exciting part: actualizing the plan, woohoo. I put together a spreadsheet to decide what to buy as my first attempt at financial budgeting. Yep, you read it right. That’s my first attempt, at this age. I know. I have mixed feelings about it. LOL
Maybe another story for next time. But in brief, I managed to renovate my balcony for less than 250 euros. Yep. Turned out it doesn’t cost a fortune to have a nice balcony. And turned out being on a budget doesn’t equate to compromising on your standards but it’s a matter of priorities.
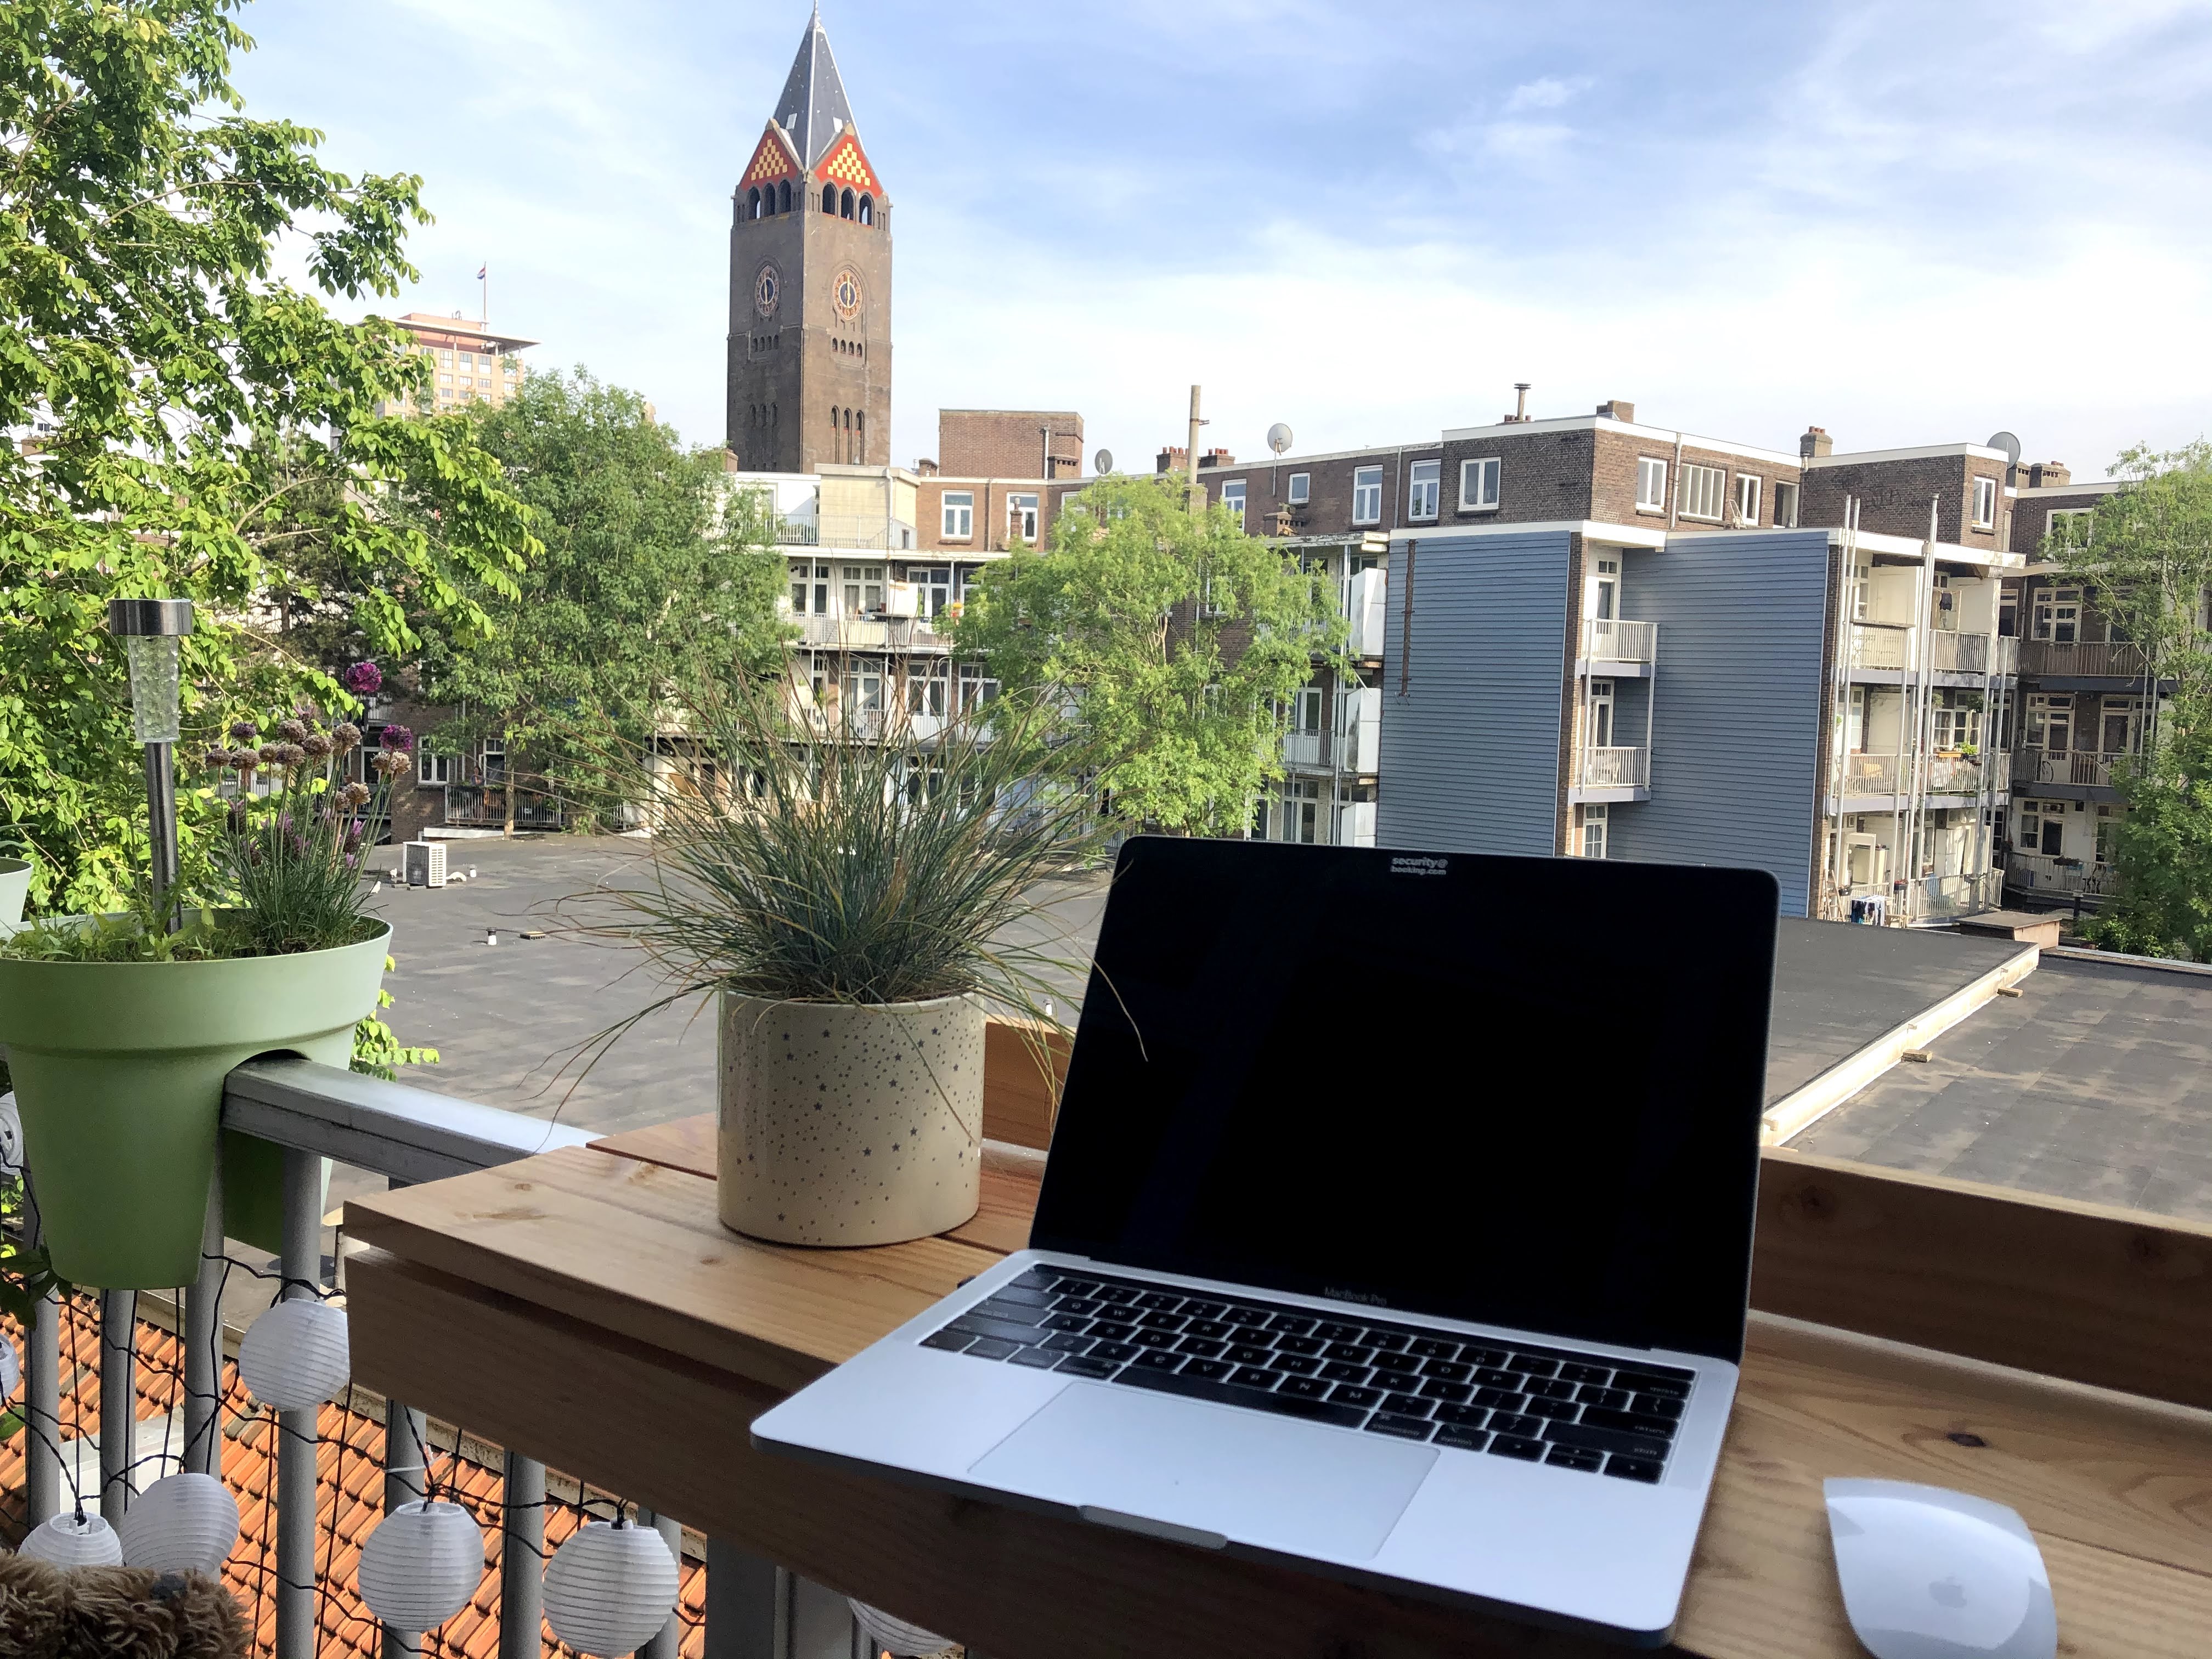
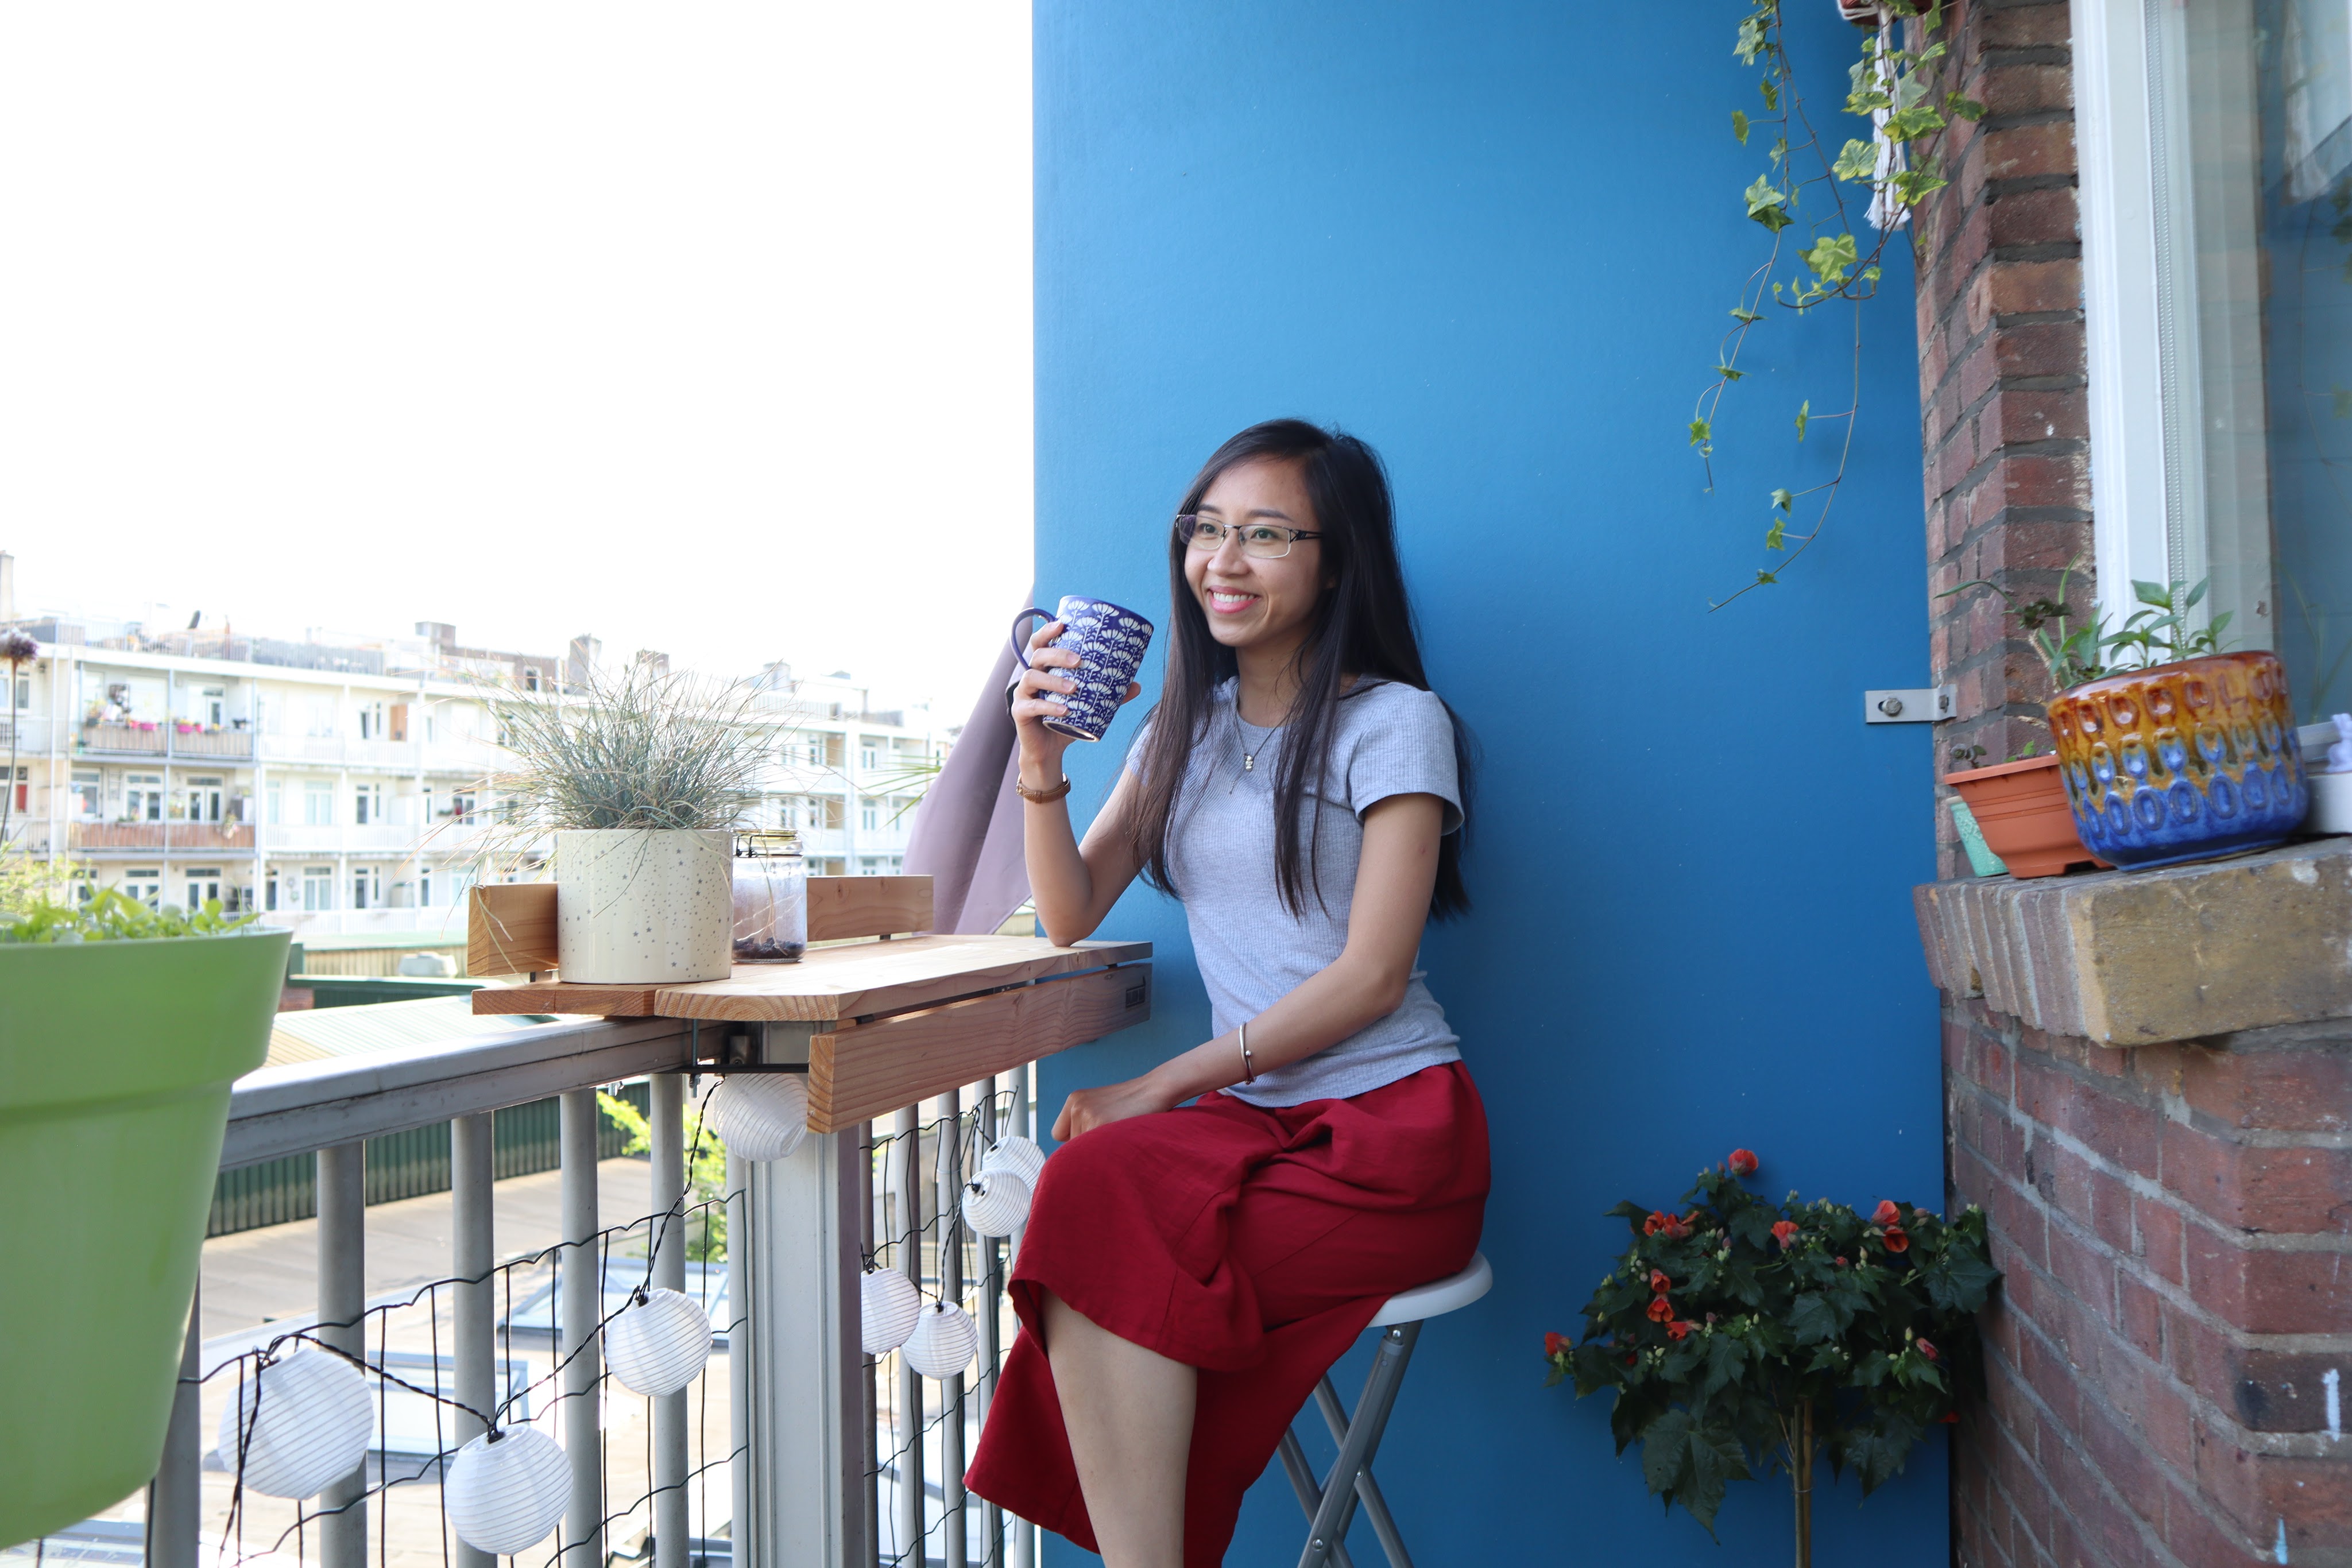
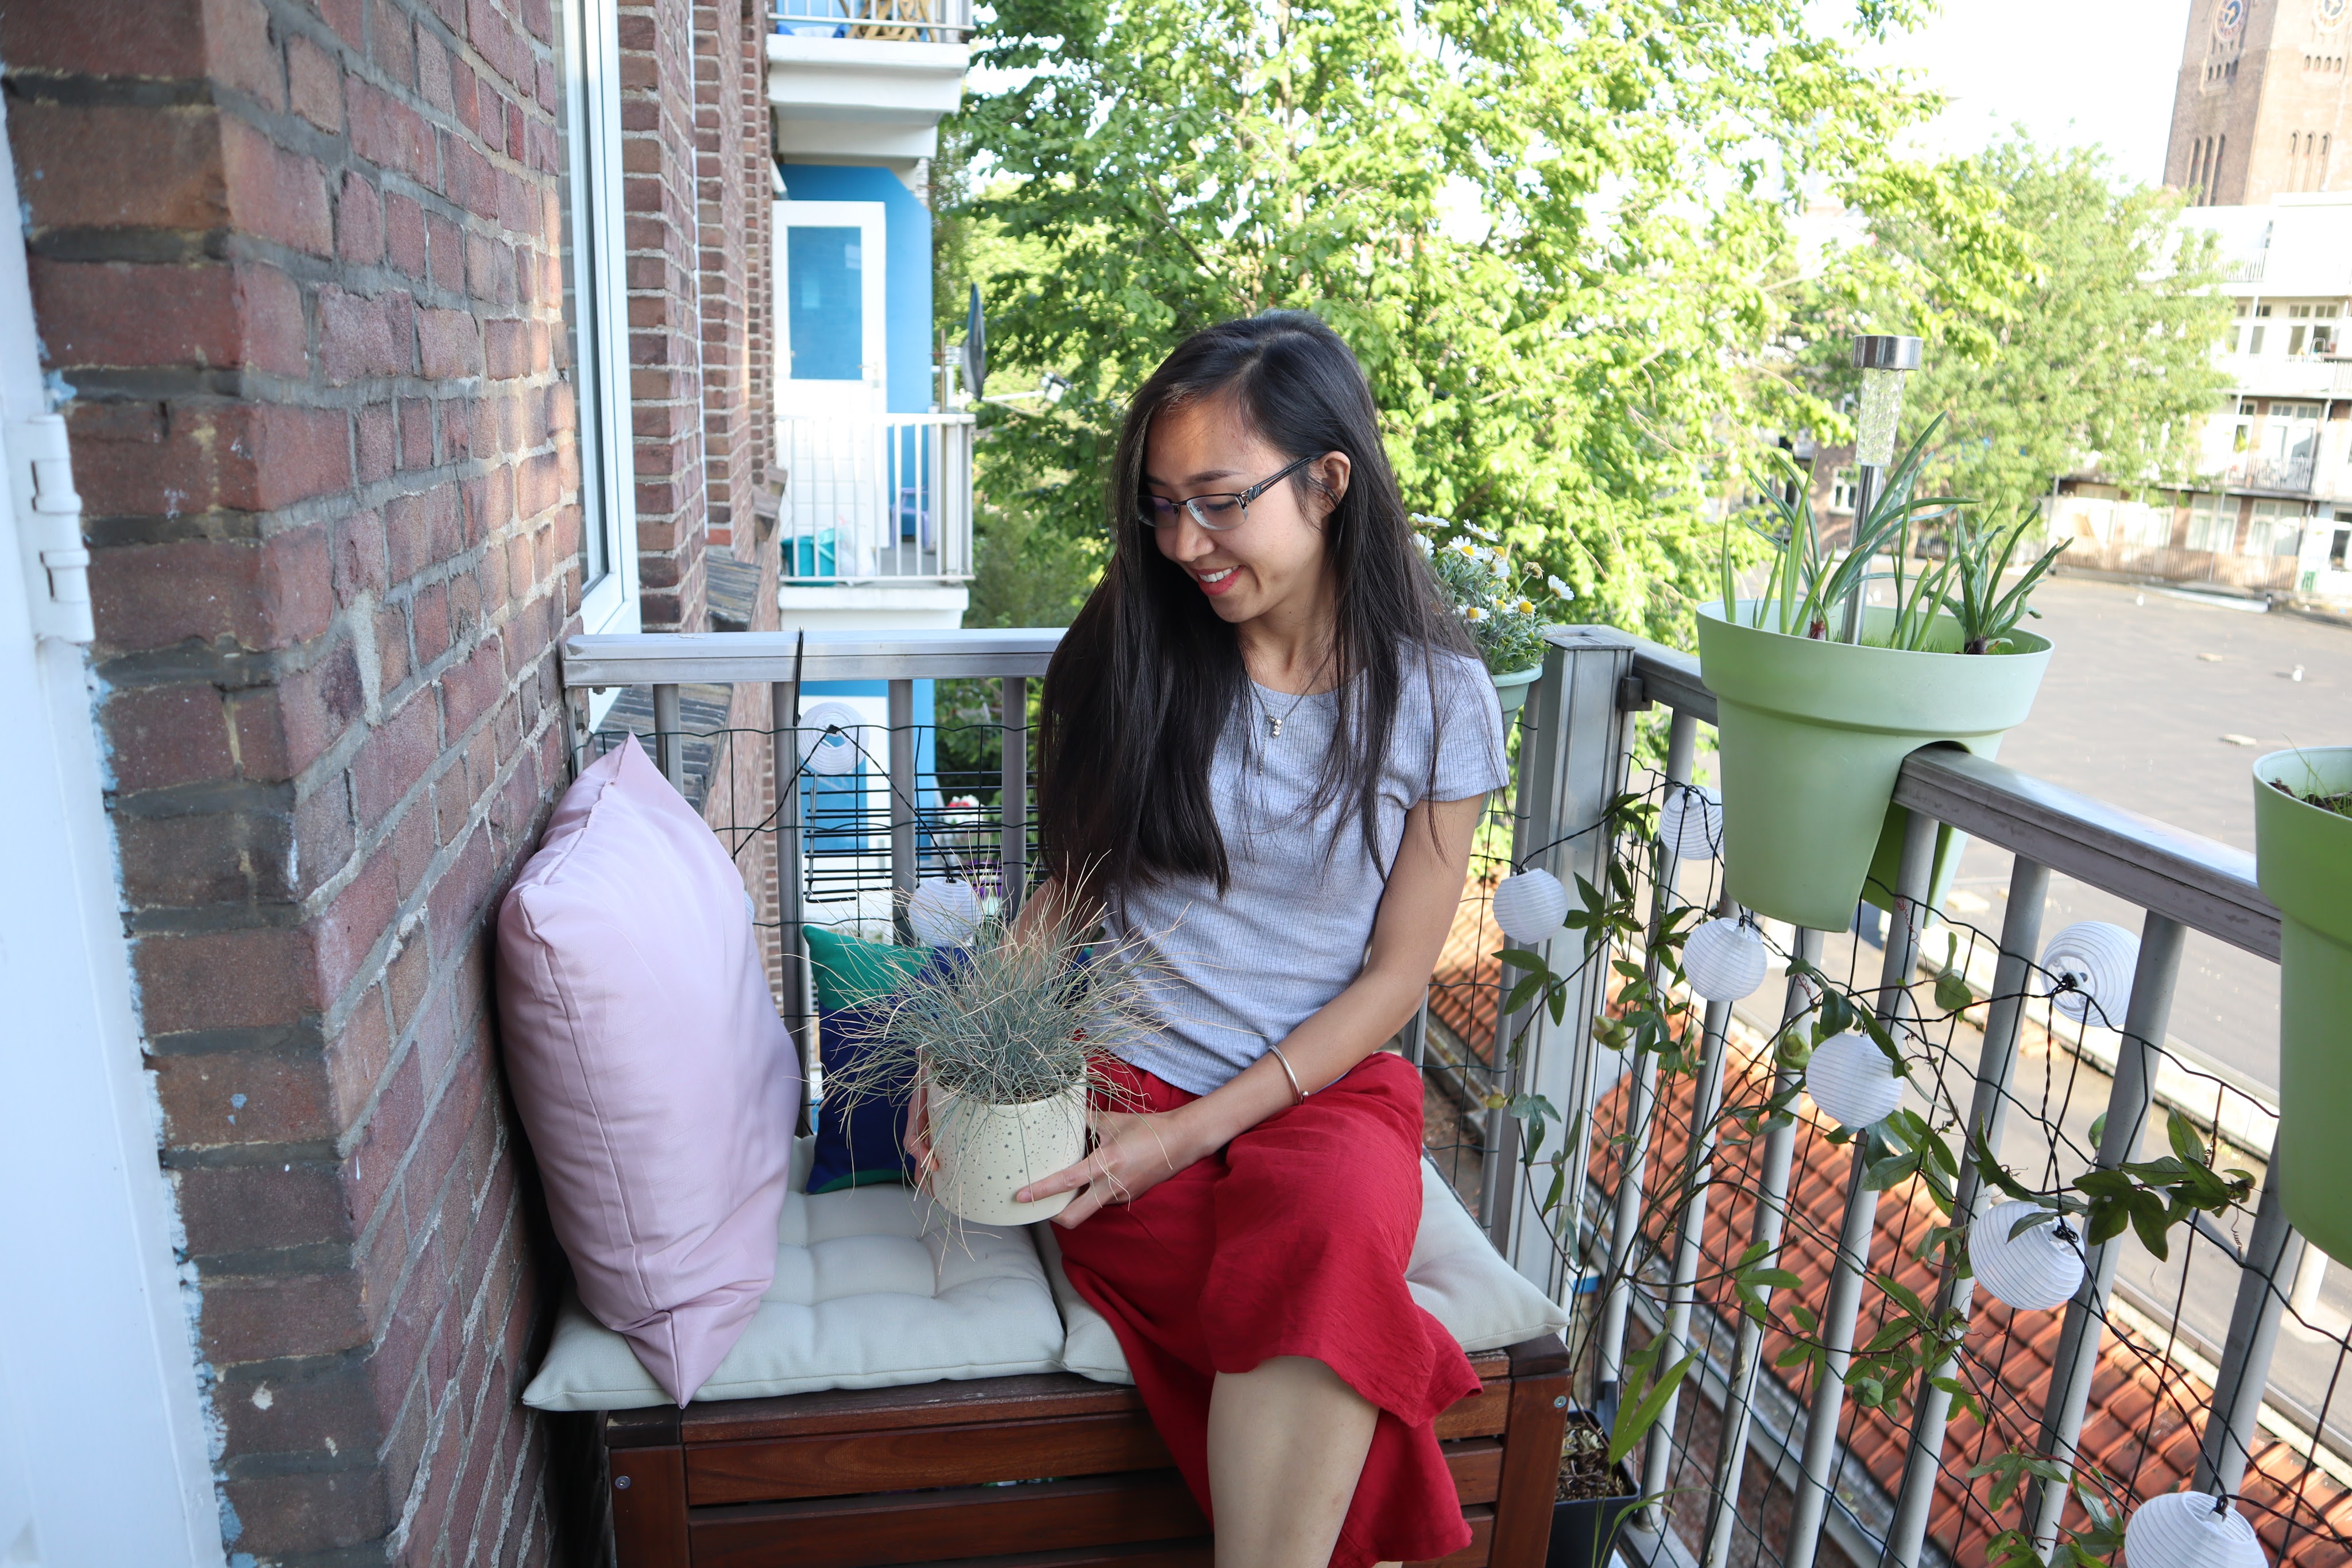
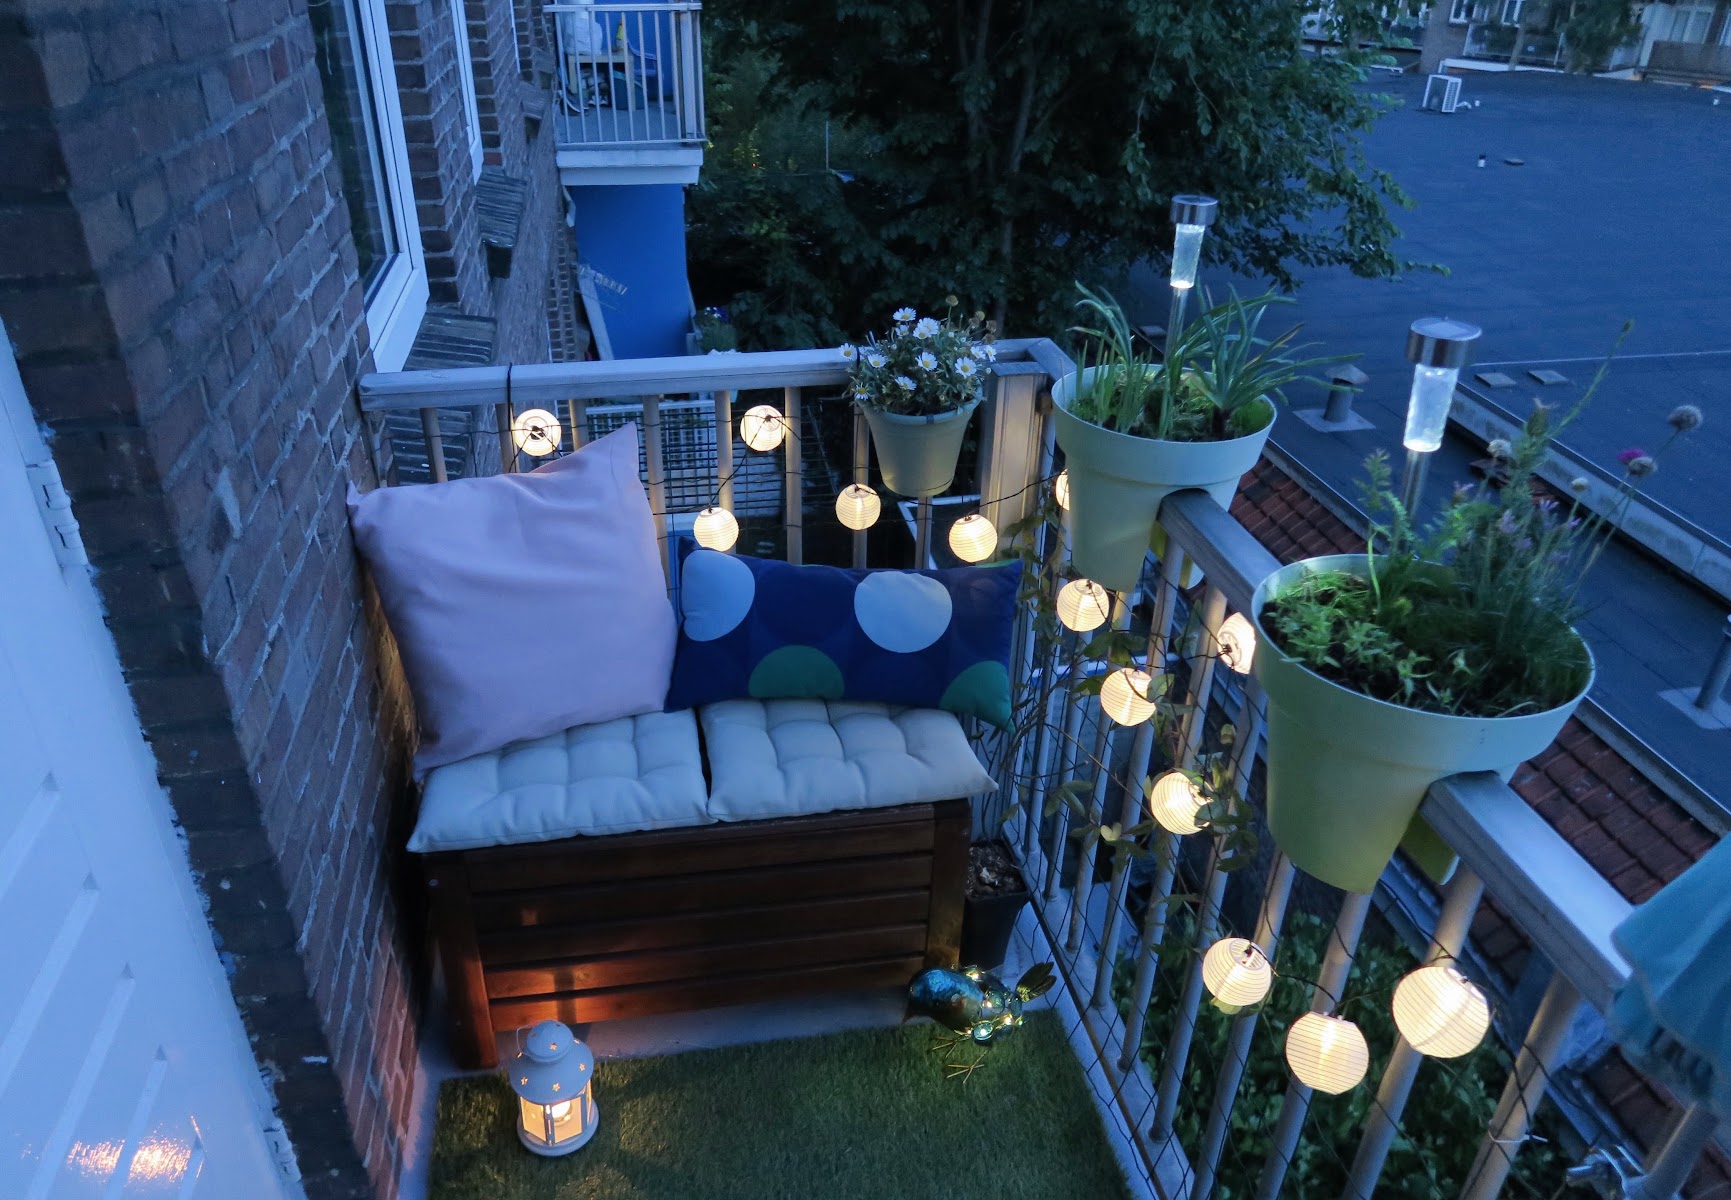
Anyway, here’s what my balcony looks like now that the project is finished. I hope you’re still here after all that much rambling of mine LOL.
Introducing to you, Hai’s proud balcony.
Here’s to congratulate you on another season in the sun. I hope the reinvigorating sunlight of Europe and my excitement about it brings a little bit of joy to your day. 🙂
BEFORE:
AND AFTER: